# 使用阿里云OSS创建图床工具
# 介绍
在进行技术总结时,图文并茂可以更好的加深记忆。在markdown语法中,图片支持本地图片、网络图片、base64。这里介绍的OSS就属于网络图片。
对象存储(Object Storage Service,简称OSS),是阿里云对外提供的海量、安全和高可靠的云存储服务。我们使用阿里云的 oss 服务存储图片。
# 创建Bucket
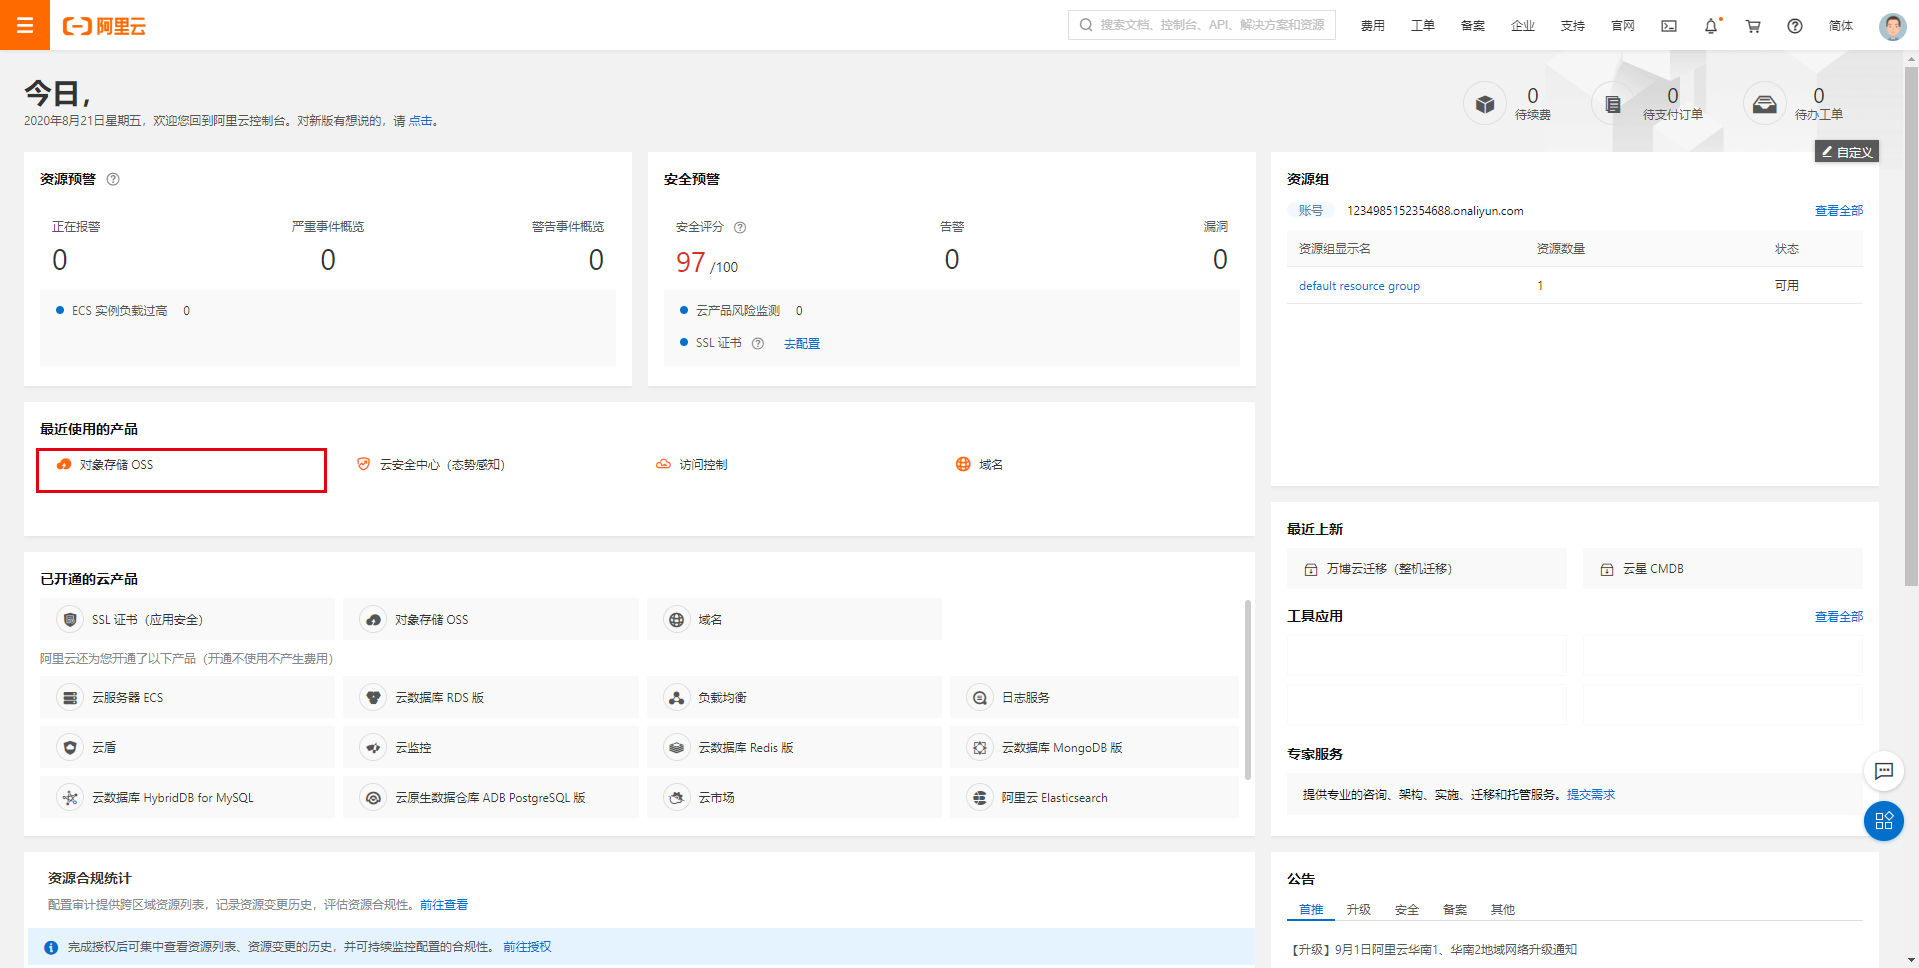
首先需要登录阿里云 (opens new window),登陆成功后,进入控制台 (opens new window),选择进入对象存储OSS,如果页面上找不到该入口,在搜索栏中搜索开通即可。如下图:

进入后,点击创建Bucket ,其中Bucket 名称跟区域自行选择填写,勾选项如下图:

需要注意的是,读写权限 需要选择公共读,这样外网才可以访问图片。
# 新建Access Key
下面新建一个Access Key (opens new window) ,创建成功后我们要用到AccessKey ID和AccessKey Secret。
# 配置图床工具
直接上代码:
// fs 模块,用于读取目录与文件
const fs = require('fs');
// path 模块,用于解析和拼装路径
const path = require('path');
// Convert Windows backslash paths to slash paths
const slash = require('slash');
const OSS = require("ali-oss");


const DEFAULT_ALLOW_FILE = ["png", "jpg"];


/**
 * 读取目录下的图片文件,收集在 images 中
 * @param {*} entry
 * @param {*} images
 */
function readDir(entry, images = []) {
  const dirInfo = fs.readdirSync(entry);
  for (let i = 0; i < dirInfo.length; i++) {
    const item = dirInfo[i];
    // 拼装出文件/文件夹的路径
    const location = path.join(entry, item);
    const isDir = fs.statSync(location).isDirectory();
    // 如果为文件夹则继续递归向下查询
    if (isDir) {
      readDir(location, images);
      // 判断是否为所允许的图片格式
    } else if (DEFAULT_ALLOW_FILE.some(allowScheme => location.endsWith(allowScheme))) {
      images.push(location);
    }
  }
  return images;
}


// 定义检索的入口文件夹( images 文件夹)
const staticDirPath = path.join(__dirname, 'images');
const images = readDir(staticDirPath);


// 这些配置参数在上一章已经进行说明,不再复述
const client = new OSS({
  "region": "oss-cn-shanghai", // // bucket 所在的 region,例如上海的节点为 oss-cn-shanghai,可在阿里云查询 oss 对应的 region
  "accessKeyId": "", // 第二步创建的id
  "accessKeySecret": "", // 第二步创建的secret
  "bucket": "img-node", // bucket名称
});


async function upload() {
  for (let i = 0; i < images.length; i++) {
    // slash 是为了兼容 windows 平台的路径划分符为 \ 的特性
    const local_url = slash(images[i]);
    // 阿里云 OSS 目标文件名
    // local_url.split() 是为了去除本地目录的前缀
    const remote_url = `images${local_url.split(slash(staticDirPath))[1]}`;
    // 按顺序依次上传文件
    const result = await client.put(remote_url, local_url)
    console.log(`${result.url} 上传成功`);
  }
  console.log("所有文件上传成功");
}


upload();
1
2
3
4
5
6
7
8
9
10
11
12
13
14
15
16
17
18
19
20
21
22
23
24
25
26
27
28
29
30
31
32
33
34
35
36
37
38
39
40
41
42
43
44
45
46
47
48
49
50
51
52
53
54
55
56
57
58
59
60
61
62
63
64
65
66
2
3
4
5
6
7
8
9
10
11
12
13
14
15
16
17
18
19
20
21
22
23
24
25
26
27
28
29
30
31
32
33
34
35
36
37
38
39
40
41
42
43
44
45
46
47
48
49
50
51
52
53
54
55
56
57
58
59
60
61
62
63
64
65
66
初始化一个项目,将上述代码复制到根目录下的index.js ,执行npm install 安装依赖,然后在根目录下新建images 文件夹,将需要上传的图片放置进去,然后运行 node index.js ,控制台便会输出oss图片地址。这篇总结里的图片就是使用该工具进行上传的,非常的实用。
